The LogProduct
Four Step Nearshore Wave Planning for Skippers: Validate Tide vs Wind
Four clear steps for skippers to use validated tide, swell-period, and harbor data, set commitment points, and avoid nearshore surprises.

Nearshore wave planning means using validated wave, tide, and harbor data, not just an open-sea forecast, to set your go or no-go points before a coastal leg. The rule that matters most: if the tidal stream opposes the wind, or the swell period is shortening, treat the situation as more dangerous than the forecast suggests and move your commitment point earlier. Tools like Nausika exist to feed that kind of validated, real-time data into your planning instead of a generic forecast summary.
TL;DR:
- Validated nearshore data that incorporates real-time sea conditions can significantly improve safety by reducing reliance on generic forecasts.
- The wave height alone is insufficient; focus on swell period and tide stream information to accurately assess nearshore risks.
- A clear decision protocol based on pre-set thresholds for wind against tide or dropping swell periods prevents risky mid-transit plan changes.
- Adding time and margin before rounding headlands or entering harbors is crucial when opposing tidal streams or shortening swell periods indicate danger.
- Using tools with verified marine data reduces the gap between forecast and actual conditions, decreasing the likelihood of nearshore incidents.
Table of Contents
- What to Verify Before a Nearshore Leg
- How Do You Build a Nearshore Wave Plan Step by Step?
- Real Scenarios Where Nearshore Planning Makes the Difference
- Why Validated Data Changes the Nearshore Equation
- Get Validated Nearshore Data Where You Already Plan
- Sources
What to Verify Before a Nearshore Leg
A coastal forecast tells you what’s happening offshore. It rarely tells you what a headland, a bar, or an opposing tide will do to that same swell an hour later. That gap is where most nearshore incidents happen, and it’s why a pre-departure check needs to go beyond glancing at wave height.
Before you cast off, work through this list:
- Wave height and swell period. A shortening period, even with height unchanged, often signals a front is closer than the forecast implies.
- Advisory windows. Note when small craft advisories or gale warnings start and end, not just whether one is active right now.
- Tide state and tidal streams. Check the timing of the stream against your intended track, not just the tide table’s high and low.
- Wind-against-tide risk. Headlands, bars, and harbor mouths are where opposing wind and current turn a moderate sea into steep, short chop.
- Harbor approach limits. Charted depths, bar crossings, pilotage windows, and bridge clearances all narrow your usable window.
- Contingency harbor access. Confirm your bailout option is actually reachable under the wind direction that would force you to use it.
- Crew and vessel capability. Match the plan to who’s actually on board, not to who you wish was on board.
Pro Tip: Wind-against-tide can turn a forecast of 3 to 4 feet at 8 seconds into something that feels twice as rough near a bar entrance. If the tidal stream opposes the wind, lower your personal wind threshold for that leg rather than trusting the raw forecast number.
How Do You Build a Nearshore Wave Plan Step by Step?
A workable nearshore plan follows the same four-stage structure long used in professional passage planning, adapted for a small craft’s tighter margins and faster decision windows.
- Appraisal. Pull charts, the latest marine forecast, tide tables, local pilot notes, and any available buoy readings. This stage is also where SOLAS V’s passage planning requirements apply. Even outside commercial shipping, the same appraisal, plan, execution, and monitoring structure is the baseline worth following, and it should include time, weather, tide, vessel capability, and identified dangers along the route.
- Plan. Choose waypoints and departure windows that put the favorable tide behind you, not against you. Set explicit commitment points, defined by both time and distance, each tied to a named bailout harbor you can actually reach given the wind direction you expect.
- Execution. Run a start checklist: instruments verified, speed reduced through confused seas near headlands, and communications confirmed with shore contacts or VTS where a harbor requires it.
- Monitoring. Track swell period trend, wind shifts, and any increase in confused sea state at regular intervals. Log what you actually observe against what the forecast predicted. That log is what turns a hunch into a decision.
Marine forecasts describe conditions in ranges across broad areas and multi-hour windows. NOAA’s own guidance treats them as planning inputs, not guarantees, which is exactly why the monitoring stage matters as much as the plan itself.
Your decision protocol should be simple enough to use under pressure: if you reach a commitment point and conditions have degraded past your pre-set threshold, whether that’s wind against tide steepening the sea or the swell period continuing to drop, you divert to the bailout harbor. No renegotiating the plan mid-transit. The threshold was set when you had the luxury of thinking clearly, at the dock, not when you’re already committed.
Real Scenarios Where Nearshore Planning Makes the Difference
Rounding a headland against an opposing tidal stream is the classic trap. The fix is conservative: add time margin before you commit to the rounding, reduce sail early rather than late, and expect the sea to steepen well before your position looks close to the point.
A bar or harbor entrance with a shortening swell period calls for a different response. Slow down, favor the engine over sail for control, and if the entrance is tight, consider a stern-first approach so you can back out cleanly if the set surprises you.

Pro Tip: A dropping swell period is often your earliest warning of an approaching front, well before the wind itself changes. Treat a two-second drop over a few hours as a trigger to widen your safety margins, not a curiosity to note and forget.
For any contingency harbor in your plan, write down the tide window that keeps it accessible, the visual marks that confirm you’re lined up on the approach, and the exact commitment point where “considering the bailout” becomes “using it.”
Why Validated Data Changes the Nearshore Equation
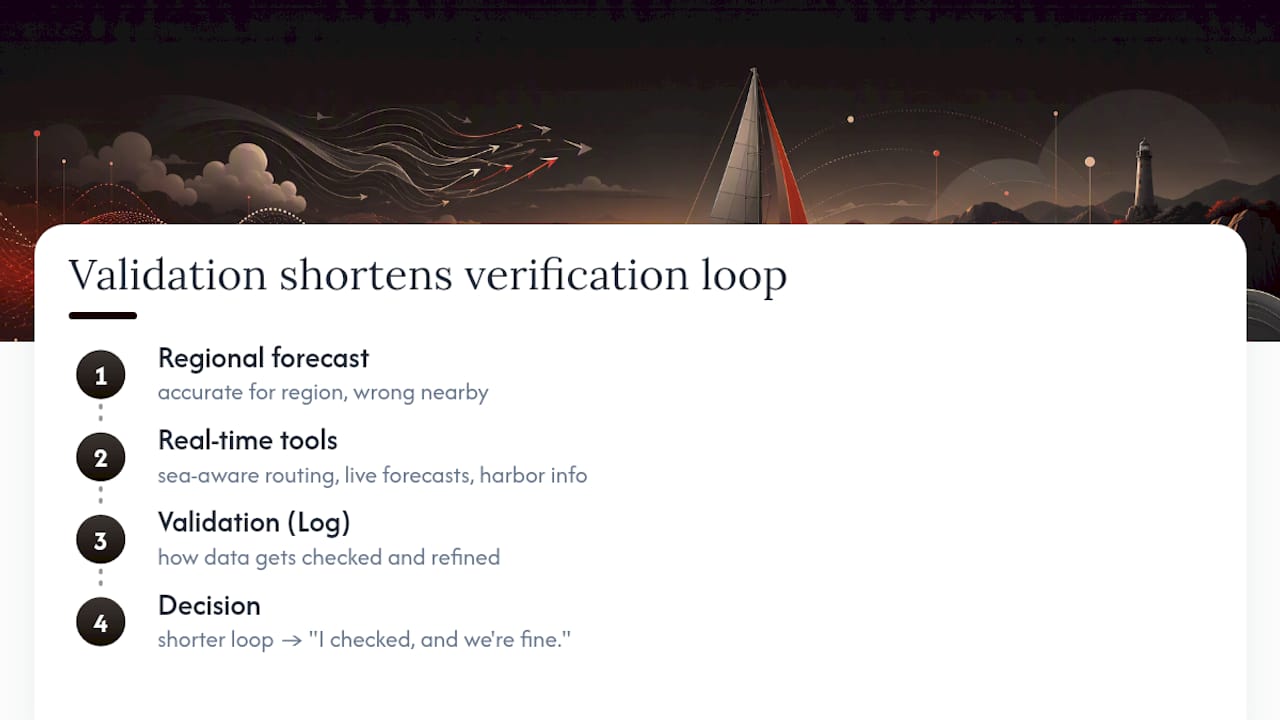
Most nearshore incidents don’t come from bad luck. They come from a forecast that was accurate for the region and wrong for the specific fifty yards near a bar entrance. Closing that gap is less about finding a better model and more about closing the loop between what’s forecast and what’s actually happening.
Some tools provide real-time sea-aware routing, live marine forecasts, and curated harbor information, pulled from validated sources rather than generated on the fly. The Log documents how that data gets checked and refined, and the Roadmap shows where the validation work is headed next. Neither is decoration. Both exist because a nearshore decision is only as good as the data underneath it, and shortening that verification loop is what turns “I think we’re fine” into “I checked, and we’re fine.”
— Andrea
Get Validated Nearshore Data Where You Already Plan
Validated nearshore wave, tide, and harbor data can be integrated directly into AI assistants, instead of relying on generic forecast summaries or requiring users to learn a new app.
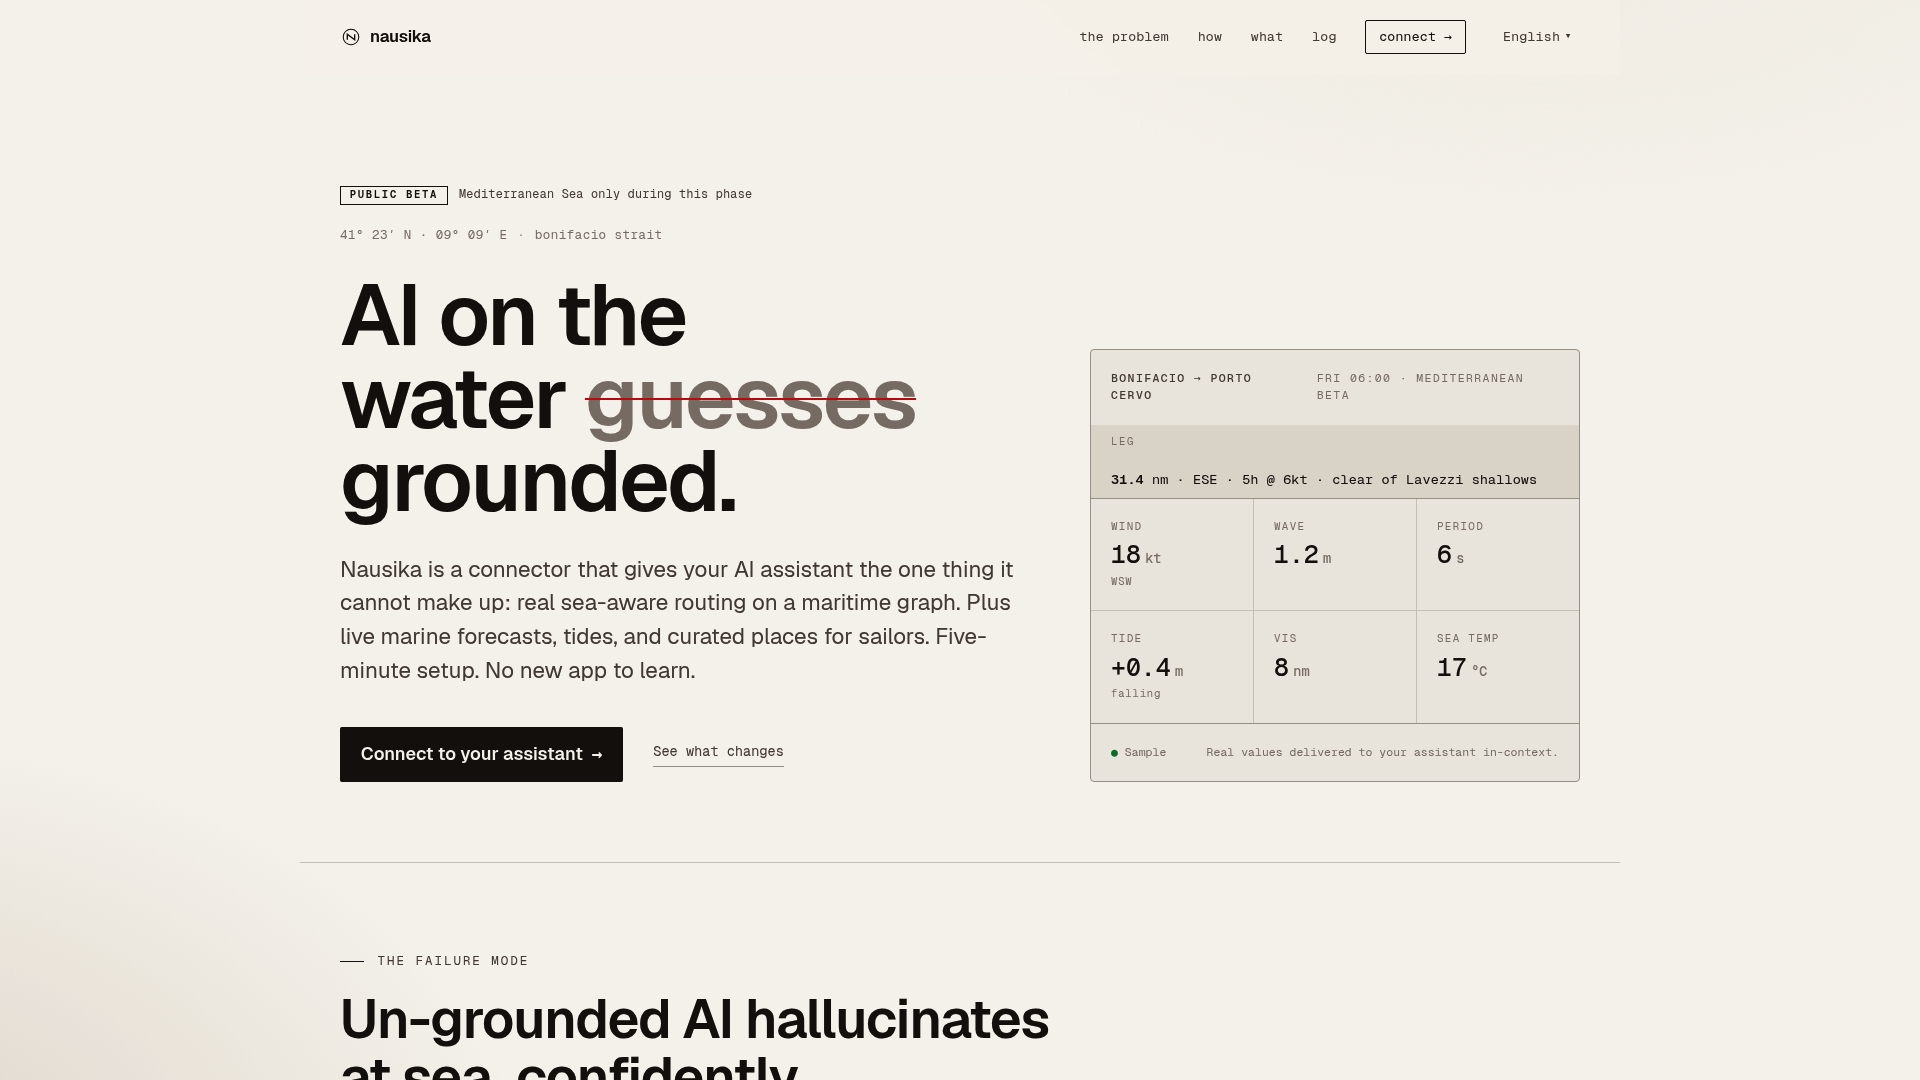
That matters most at the exact moments this article covers: setting a commitment point, checking whether the tide has turned against the wind, or confirming a bailout harbor is still reachable before you need it. Because the data comes from verified marine sources rather than AI-generated guesses, the checklist gets shorter and the monitoring stage gets faster, which is where most nearshore mistakes actually happen. Setup takes minutes, and the free public beta means you can start using it on your next passage plan without committing to anything. Visit the Nausika landing page to connect it to your assistant, or check The Log to see exactly where the underlying data comes from before you rely on it.
Sources
Height alone tells you almost nothing useful close to shore. Two boats can face identical forecast wave heights and have completely different afternoons, because one is fighting an opposing tidal stream near a bar and the other has the current running with the wind.
What actually matters:
- SafeBoating / Marine forecasts guidance | NOAA
- Coastal and Offshore Passage Planning | VAKA
- Hands-on sailor: watching weather | Cruising World
Onboard, a simple setup goes a long way: a period readout, a tide overlay for your track, current arrows near your approach, and a habit of logging forecast versus observed values each hour. A curated list of onboard and shore-side apps can help you assemble that stack without hunting through app stores mid-season. The goal isn’t more data. It’s data you’ve actually checked against what’s happening outside the cockpit.